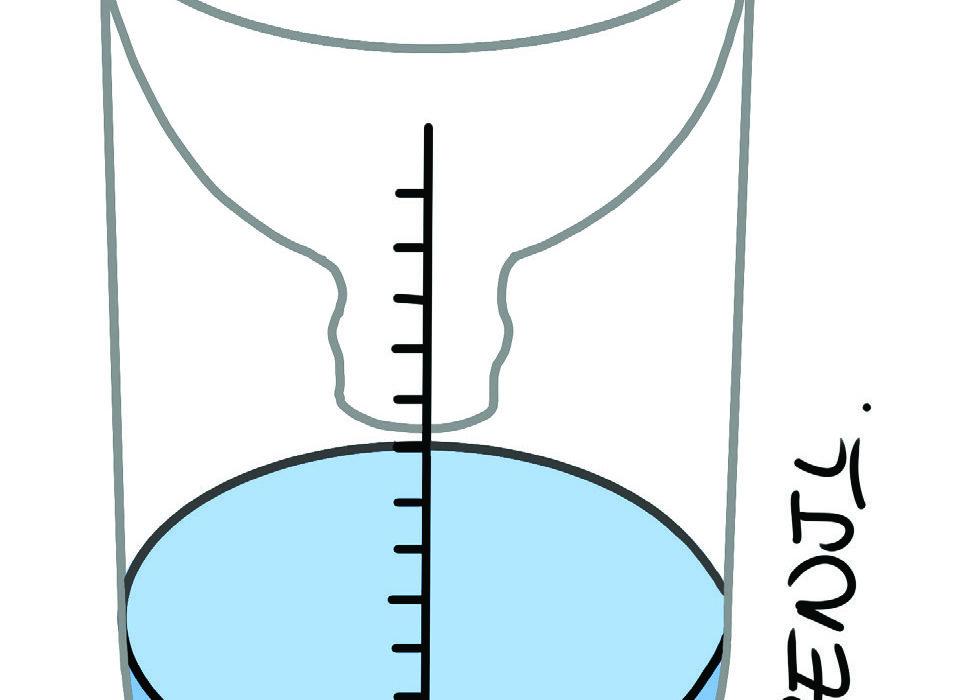
Make a Rain Gauge
What you will need
- 2 litre soda bottle
- Permanent marker
- Ruler
- Knife
- Sellotape
- Food colouring
In this fun science experiment, we shall measure the amount of rainfall by making a rain gauge. Adult supervision and assistance is required

Instructions
- Remove the label and ask a trusted adult to cut off the top of the bottle. Save the top for later.
- Draw a solid line around the bottom of the bottle where the base and the body meet. This is where your rain measurements will start after completion.
- Using a ruler, mark every centimetre on the body of the bottle until you run out of space.
- Put the top of the bottle (without the cover) into the body of the bottle like a funnel and tape around the edges to seal it shut.
- Fill the bottle with coloured water to the 0-cm line.
- Place your rain gauge outside on a flat surface with exposure to the elements.
- Check your rain gauge daily or after heavy rainfall to see how much water you have collected.
- Write down the new starting level each time
What is happening
A rain gauge is a device that captures rain so it can be measured in order to observe how much precipitation (any liquid or frozen water that forms in the atmosphere and falls back to the earth) falls in a given location during a period of time. Measuring how much rain falls in your area is important in identifying weather patterns, knowing the best times for planting and even what crops to plant.

